Settings and recommendations

Have you seen our tutorials yet?
How do I regulate the deck and top correctly?
The balance between the top and deck set point temperature and power varies according to the type of product and dough to be baked.
Starting from the settings suggested below and by modifying the temperature set point, it is possible to customise the baking time and desired texture (e.g., increasing the temperature will shorten the baking time and the product will be softer, brown more quickly and have a finer crust, vice versa by lowering the temperature).
The adjustment of the top and deck power acts on the heating elements at the top and bottom of the oven. In this way it is possible to personalise the desired balance between the surface and the bottom of the product.
For example by increasing the power of the top the product will brown faster, vice versa increasing the power of the deck, the oven will get more thrust and more browning of the bottom.
When setting the temperature and percentage of the heating elements, it is important not to go below certain values. As a general guideline, it must be taken into account that below 200°C (390°F) the sum of the percentages of ceiling and deck must be greater than 50%; below 250°C (480°F) the sum must be over 70%, below 300°C (570°F) 90%, above 300°C (570°F) 100% or more.
How to ensure the correct pizza rotation when baking?
Start baking from the bottom of the oven on the right, moving then to the left and passing to the row at the front.
During the shift “rotate” the deck of the oven occupying all the areas available. After work breaks start baking from the bottom right area.
What is the Delta-Power Technology?
With frequent door openings or when cooking with the residual heat, it is possible to balance the heat between the front and back of the baking chamber with Delta-Power Technology.
You can increase or decrease the power percentage of the front of the oven, in a range of +/-30%: setting a positive value will increase the heat in the front, vice versa setting a negative value.
If during baking you observe less browning of the front of the products, set a positive Delta-Power, increasing first for the top and then also for the deck if the result is not satisfactory.
How do I use Power-Booster function?
The Power-Booster function can be activated in anticipation of exceptional workloads in order to increase the power of the resistors while still maintaining the chosen top/deck balance.
In such cases, activation 5/10 minutes in advance is recommended.
In the Menu/Service/Split-Booster it is possible to activate the power increase separately, only for the top or only for the deck.
Do I need to turn pizza when baking?
During baking it is not necessary to continuously turn the pizza.
In case of partial loads or when baking at high temperatures, you can half-turn the pizza right after mid-cooking to obtain a perfect result.
How do I set the parameters with highly hydrated doughs?
If the dough you are baking is more hydrated than standard, we suggest to lower the temperature by 10/20°C (15/30°F), rising the deck power by 5% and extend baking till desired, vice versa with low hydration dough.
How do I regulate the deck inner humidity?
Adjust the humidity by lowering or raising the tilting deflectors.
The deflector lowered vertically keeps the baking chamber more moisturised, vice versa if the deflector is raised horizontally.
How to ensure the correct pizza rotation when baking?
Start baking from the bottom of the oven, moving to the oven ‘mouth’ when the workload requires it.
Use the 4 areas at the bottom (6 for Neapolis 9) when baking pizzas, keeping the 2 positions “at the mouth of the oven” (3 for Neapolis 9) for focaccia and calzone.
Example for Neapolis 6:
Always start placing the pizza on the bottom right tile (position 1), continuing counter clockwise on the bottom left one (position 2), then moving to the right in the adjacent tile (position 3) and then left again left (position 4).
After using all 4 baking positions, start over from number 1 and repeat the same “pizza rotation”.
There are two positions available at the “oven mouth” that should be used only to finish baking or dry pizzas and to bake calzones or focaccias.
Even in case of high work peaks, it is recommended to leave these areas free, in order to use them to complete baking if needed.
Example for Neapolis 9:
Always start placing the pizza on the bottom right tile (position 1), continuing counter clockwise on the next tile to the left (position 2), then moving to the one at the bottom left (position 3).
Move forward on the second tile row on the left (position 6), continue on the central tile (position 5), ending on the right (position 4).
After using all 6 baking positions, start over from number 3 and repeat the same “pizza rotation”.
There are three positions available at the “oven mouth” that should be used only to finish baking or dry pizzas and to bake calzones or focaccias.
Even in case of high work peaks, it is recommended to leave these areas free, in order to use them to complete baking if needed.
Do I need to turn my pizza when baking?
It is not necessary to turn the pizza continuously.
Only, if necessary, a half-turn right after half baking will be sufficient to obtain a perfect result.
How to correctly set the top and deck?
The balance between the set point temperature and the top and bottom power varies according to the type of product and dough to be baked. Starting from the settings suggested below, it is possible, by changing the temperature set point, to customise the baking time and desired consistency (for example, increasing the temperature will shorten baking times and the product will be softer, brown faster and have a thinner crust. Vice versa by lowering the temperature).
The top and deck power adjustment intervenes on the work of the resistances in the upper and lower part of the oven. In this way it is possible to customise the desired balance between the surface and the bottom of the product, for example, when increasing the top power the product will brown faster, vice versa by increasing the deck you will have more thrust and browning on the pizza bottom.
If the dough being baked is more hydrated than the standard, it is advisable to lower the temperature by 10/30° C/ 50 – 90 °F, raising the deck power by 1 point and extend the baking to the desired degree, the other way round with slightly hydrated doughs.
My pizza takes too long to cook. What should I do?
Raise the set point temperature and make sure to do the “pizza rotation” as explained in the “Let’s start!” section.
My pizza is too crunchy, what settings should I adjust?
Lower the deflectors. If the problem persists, raise the set point temperature by 15-20 °C / 60 – 70 °F and do the “pizza rotation” as explained in the “Let’s start!” section.
My pizza is too soft, what should I do?
Raise the deflectors. If the texture is still not as desired, lower the set point temperature by 15-20 °C / 60 – 70 °F, lowering the top by 1 point and raising the deck by 1 or 2 points.
My pizza is not as brown as desired, what should I adjust?
Raise the top power by 1-2 points and do the “pizza rotation” as explained in the “Let’s start!” section.
I am not satisfied with the below browning of my pizza, how can I fix this?
Preheat the oven lowering the top by 1 point and raising the deck by 2-3 points.
After baking a few pizzas, the colour below is not the same anymore, how can I fix this?
Preheat the oven as suggested above, making sure you do the right “pizza rotation” procedure as explained in the “Let’s start” section. If needed, raise the deck to 7-8-9 a few minutes before baking.
Do not set the top above 7 for temperatures lower than 400-420°C / 752-788 °F and not above 8 for higher temperatures.
Neapolis has not switched on at the set time even though the timer settings are correct. What happened?
Verify that the time setting is ok. If all is right and the problem persists, please contact our Customer Service here selecting “Technical Assistance” from the menu.
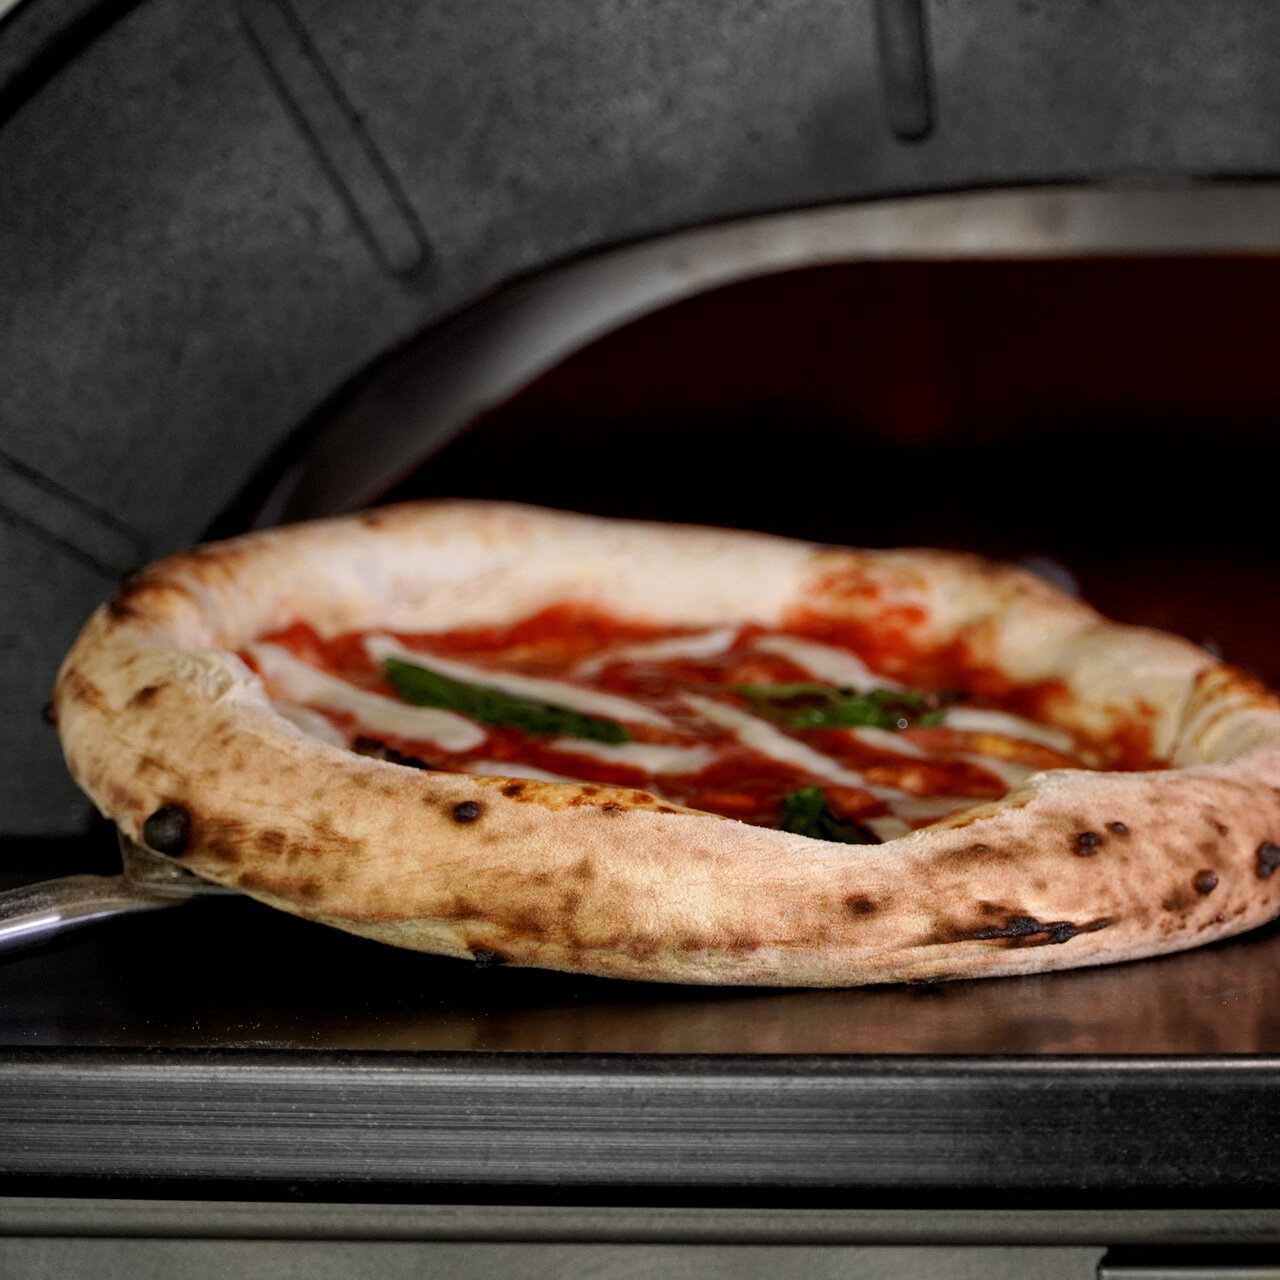
Dough ball size from 250 to 275g / Baking time 0’50’’ – 1’25’’
Normal workload:
Preheat Neapolis with the deflectors lowered, setting the set point at 440 – 470 °C / 824 – 878 °F, top 8, deck 2 (light off and door closed), press start/stop and wait for it to reach temperature (approximately 2h and 15′ when cold, 1h and 15′ if the oven has worked in the previous shift). When the set temperature is reached, open the door, change the set point at 450 – 480°C / 842 – 896 °F top 8, deck 3 and in 15/20 minutes it will be ready to start baking; at temperatures above 430°C / 806 °F pay particular attention when baking the first pizzas.
Oven constantly at full load:
Preheat Neapolis with the deflectors lowered, setting the set point at 420 °C / 788 °F, top 7, deck 4 (light off and door closed), press start/stop and wait for it to reach temperature (approximately 2h when cold, 1h if the oven has worked in the previous shift). When the set temperature is reached, change the set point to 450- 480 °C / 842 – 896 °F top 8, deck 5 and wait for it to reach temperature again, then open the door and in 10 minutes it will be ready to start baking, paying particular attention to the first pizzas.
When expecting a full load of more than 6-7 baking batches in a row, raise the deck up to 7 or more.
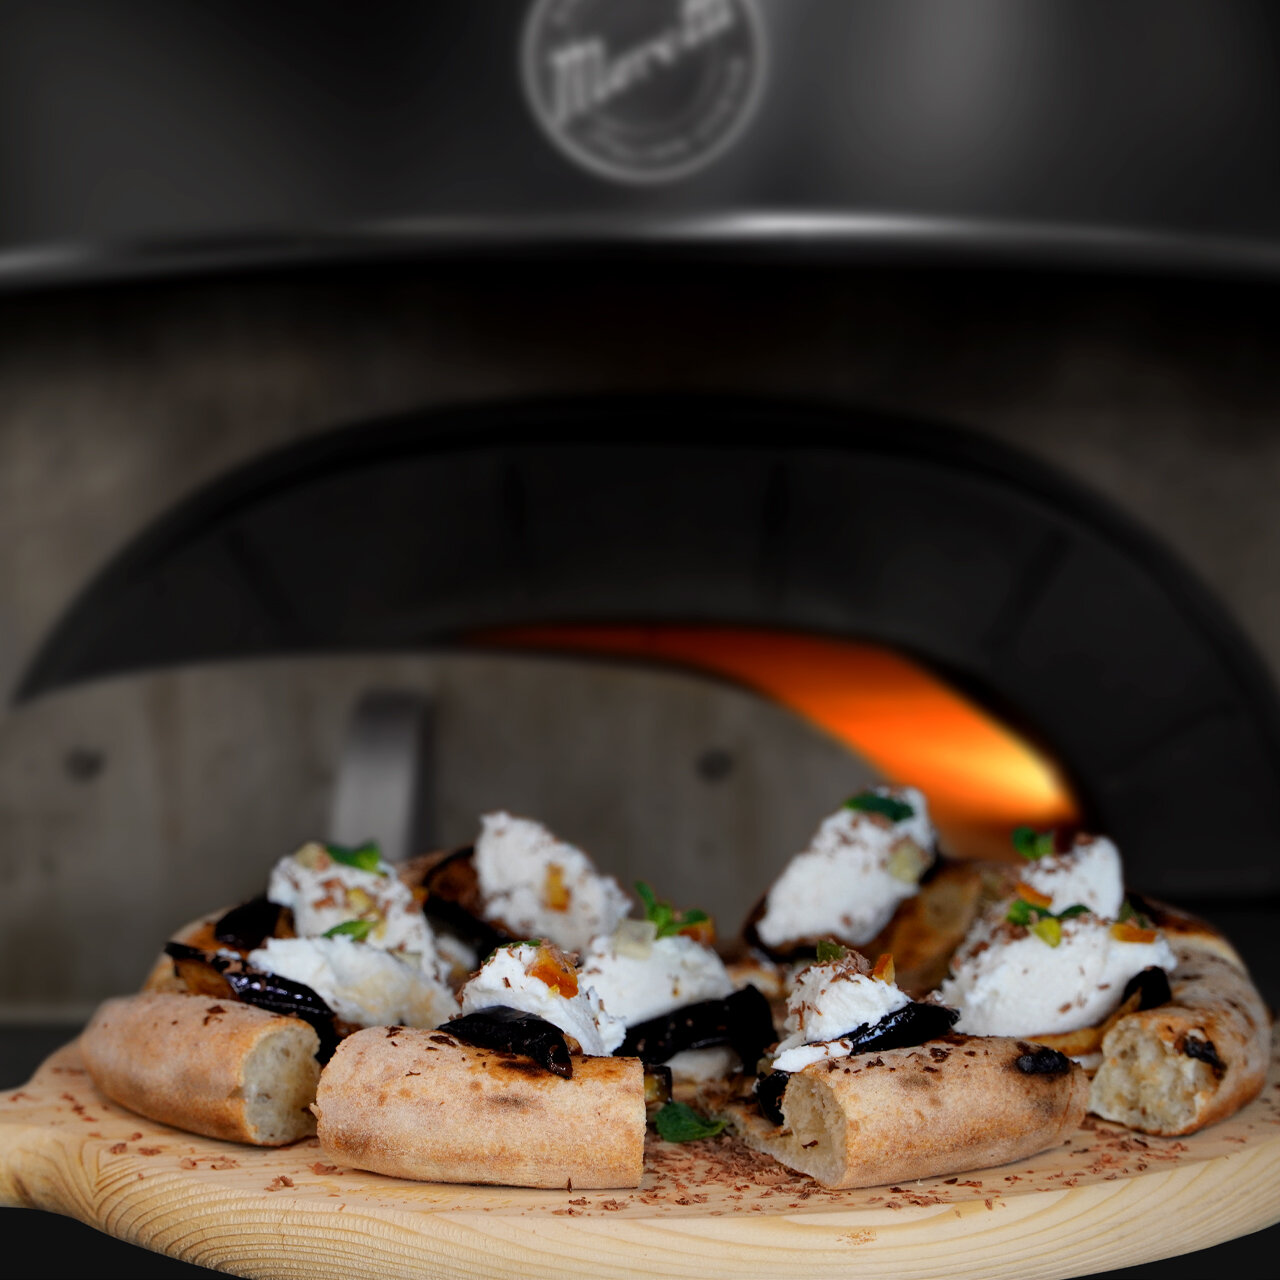
Dough ball size from 270 to 300g / Baking time 2’-3’
Normal workload:
Preheat Neapolis, adjusting the deflectors according to the crunchiness desired.
Program the set point at 340 – 390 °C / 644 – 734 °F, top 6, deck 4 (light off and door closed), press start/stop and wait for it to reach temperature (approximately 2h when cold, 1h if the oven has worked in the previous shift). When the set temperature is reached, open the door, change the set point at 350 – 380 °C / 662 – 716 °F top 7, deck 6 and in 15/20 minutes it will be ready to start baking. If necessary, further raise the deck power during the service shift.
Oven constantly at full load:
Preheat Neapolis, adjusting the deflectors according to the crunchiness desired.
Program the set point at 340 – 390 °C / 644 – 734 °F, top 6, deck 5 (light off and door closed), press start/stop and wait for it to reach temperature (approximately 2h when cold, 1h if the oven has worked in the previous shift). When the set temperature is reached open the door, then change the set point to 350 – 380 °C / 662 – 716 °F top 7, deck 6 and in 15/20 minutes it will be ready to start baking. If necessary, further raise the deck power during the service shift.
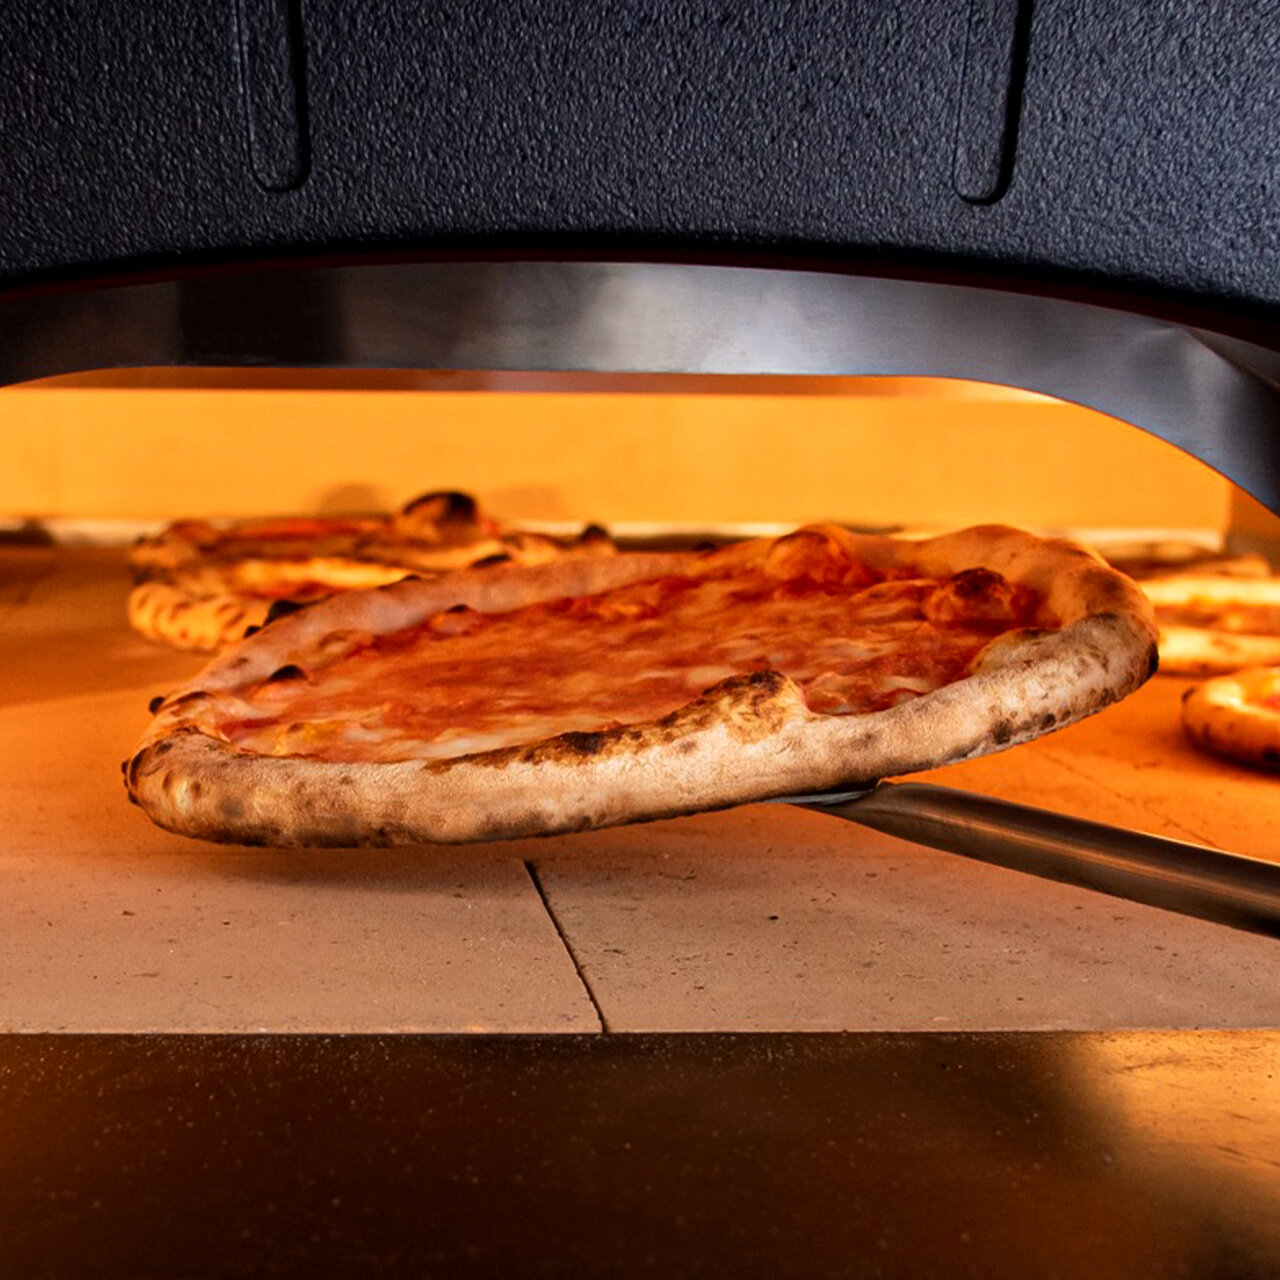
Dough ball size from 220 to 250g / Baking time 2’50’’ – 3’30’’
Normal workload:
Preheat Neapolis raising the deflectors horizontally and programming the set point at 330 °C / 626 °F, top 5, deck 6 (light off and door closed), press start/stop and wait for it to reach temperature (approximately 1h and 45′ from cold, 1h if the oven has worked in the previous shift). When the set temperature is reached, open the door, change the set point to 340 °C / 644 °F top 6, deck 6 and in 15/20 minutes it will be ready to start baking. If necessary, further increase the deck power during the service shift.
Oven constantly at full load:
Preheat Neapolis raising the deflectors horizontally and programming the set point at 330 °C / 626 °F, top 3, deck 6 (light off and door closed), press start/stop and wait for it to reach temperature (approximately 2h and 15′ when cold, 1h and 30′ if the oven has worked in the previous shift). When the set temperature is reached, open the door, change the set point to 340 °C / 644 °F top 6, deck 7 and in 25/30 minutes you can start baking. If necessary, further increase the deck power during the service shift.
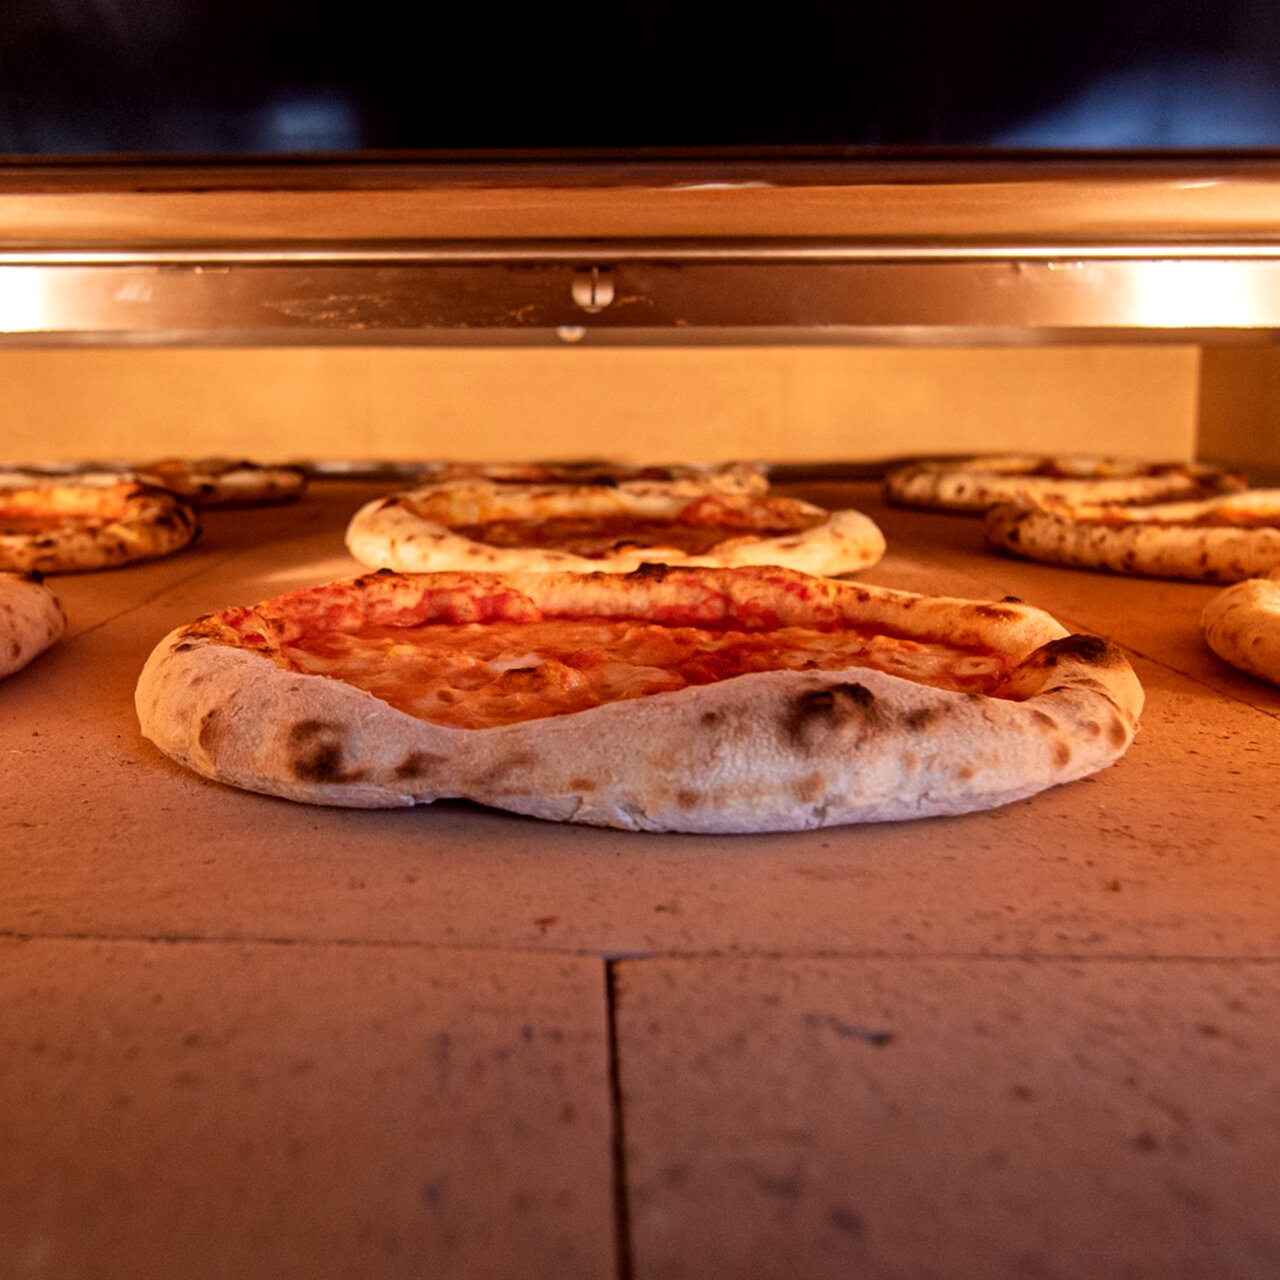
Dough ball size from 220 to 260g / Baking time 1’50’’ – 2’30’’
Normal workload:
Preheat Neapolis, adjusting the deflectors according to the crunchiness desired.
Program the set point at 350 – 380 °C / 662 – 716 °F, top 6, deck 4 (light off and door closed), press start/stop and wait for it to reach temperature (approximately 2h when cold, 1h if the oven has worked in the previous shift). When the set temperature is reached open the door, then change the set point to 360 – 390 °C / 680 – 734 °F top 7, deck 5 and in 15/20 minutes it will be ready to start baking. If necessary, further raise the deck power during the service shift.
Oven constantly at full load:
Preheat Neapolis, adjusting the deflectors according to the crunchiness desired.
Program the set point at 350 – 380 °C / 662 – 716 °F, top 6, deck 5 (light off and door closed), press start/stop and wait for it to reach temperature (approximately 2h when cold, 1h if the oven has worked in the previous shift). When the set temperature is reached open the door, then change the set point to 360 – 390 °C / 680 – 734 °F top 7, deck 6 and in 15/20 minutes it will be ready to start baking. If necessary, further raise the deck power during the service shift.

Dough ball size from 180 to 210g / Baking time 2’50’’ – 3’30’’
Normal workload:
Preheat Neapolis raising the deflectors horizontally and programming the set point at 320 °C / 608 °F, top 5, deck 6 (light off and door closed), press start/stop and wait for it to reach temperature (approximately 1h and 40′ from cold, 1h if the oven has worked in the previous shift). When the set temperature is reached, open the door, change the set point to 330 °C / 626 °F top 6, deck 7 and in 15/20 minutes it will be ready to start baking. If necessary, further increase the deck power during the service shift.
Oven constantly at full load:
Preheat Neapolis raising the deflectors horizontally and programming the set point at 320 °C / 608 °F, top 4, deck 6 (light off and door closed), press start/stop and wait for it to reach temperature (approximately 2h when cold, 1h and 20′ if the oven has worked in the previous shift). When the set temperature is reached, open the door, change the set point to 330 °C / 626 °F top 6, deck 8 and in 20/25 minutes you can start baking. If necessary, further increase the deck power during the service shift.

Dough ball size from 140 to 160g / Baking time 3’00’’ – 3’45’’
Normal workload:
Preheat Neapolis raising the deflectors horizontally and programming the set point at 300 °C / 572 °F, top 3, deck 6 (light off and door closed), press start/stop and wait for it to reach temperature (approximately 1h and 40′ from cold, 1h if the oven has worked in the previous shift). When the set temperature is reached, open the door, change the set point to 310 – 315 °C / 590 – 599 °F top 3, deck 6 and in 15/20 minutes it will be ready to start baking. If more browning is needed increase the deck power to 4 – in case also increase the deck of one point – during the service shift.
Oven constantly at full load:
Preheat Neapolis raising the deflectors horizontally and programming the set point at 300 °C / 572 °F, top 3, deck 6 (light off and door closed), press start/stop and wait for it to reach temperature (approximately 2h when cold, 1h and 20′ if the oven has worked in the previous shift). When the set temperature is reached, open the door, change the set point to 310 – 315 °C / 590 – 599 °F top 4, deck 8 and in 25/30 minutes you can start baking.
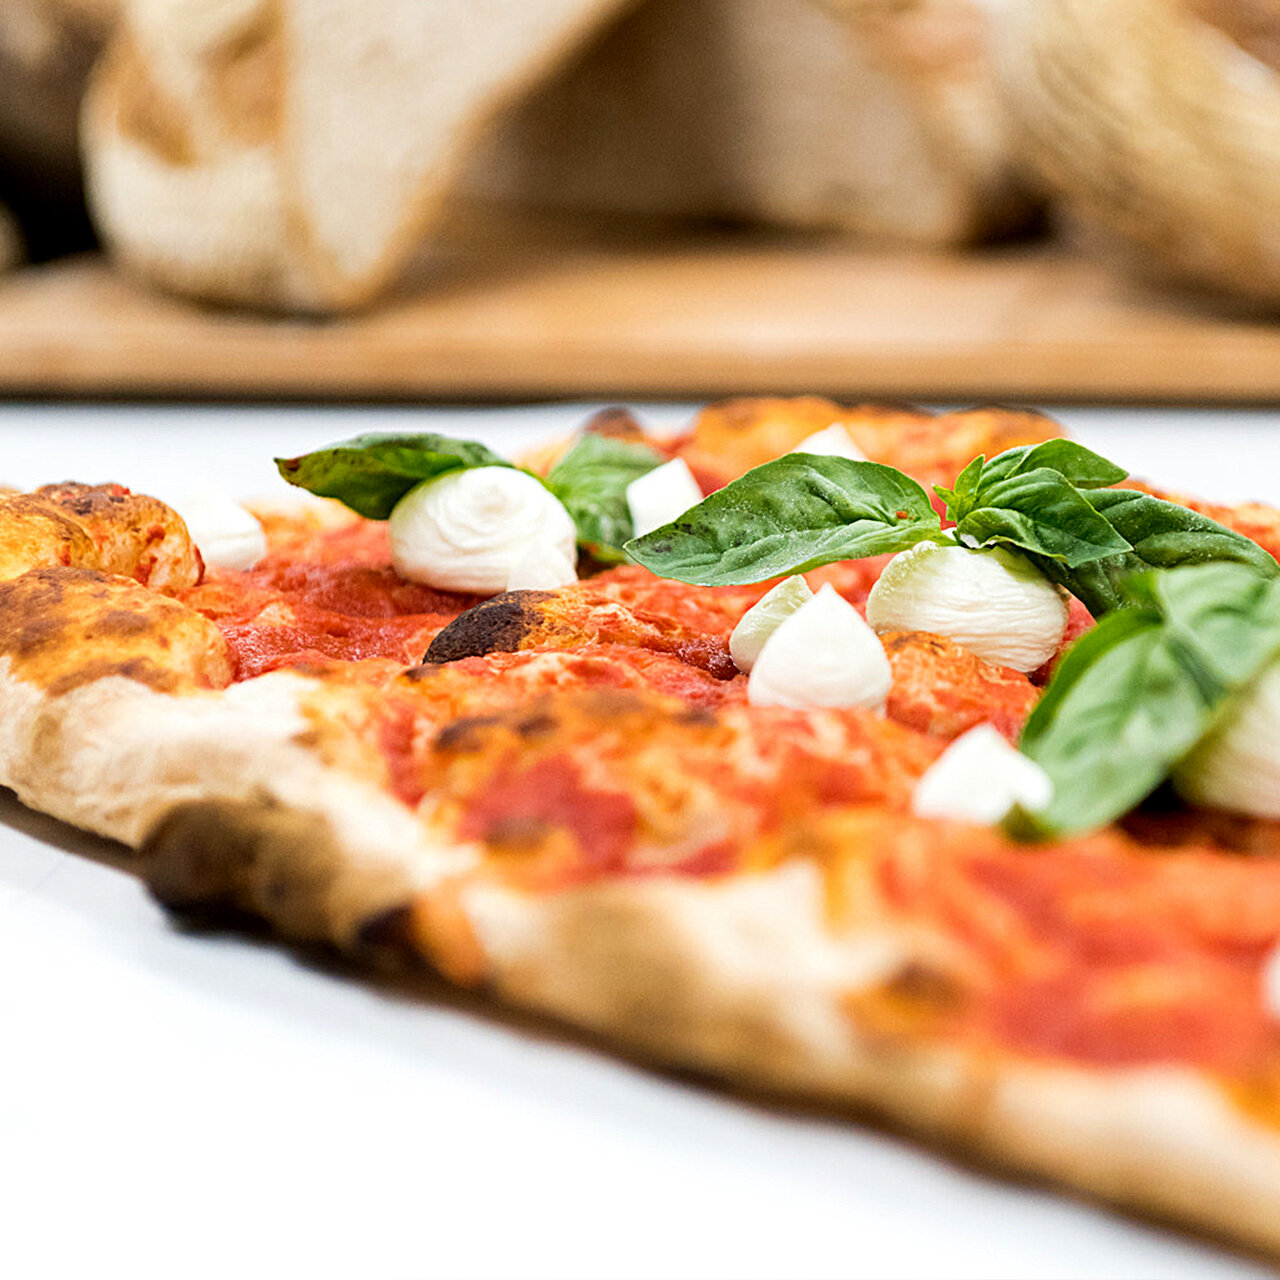
Dough ball size from 260 to 350g / Baking time 5’ – 8’
Preheat the pizza bases with the oven constantly at full load (only use the 4 areas at the bottom for Neapolis6 or the 6 areas for Neapolis9):
Preheat Neapolis raising the deflectors horizontally and programming the set point at 285 °C / 545 °F, top 3, deck 6 (light off and door closed), press start/stop and wait for it to reach temperature (approximately 2h and 30′ from cold, 1h and 15’ if the oven has worked in the previous shift). Once the set temperature is reached, open the door, in 15/20 minutes Neapolis will reach the setpoint again and it will be ready to start baking. If you need to bake faster just raise the set point by 10-20 °C / 50-70 °F and by one point both top and deck.
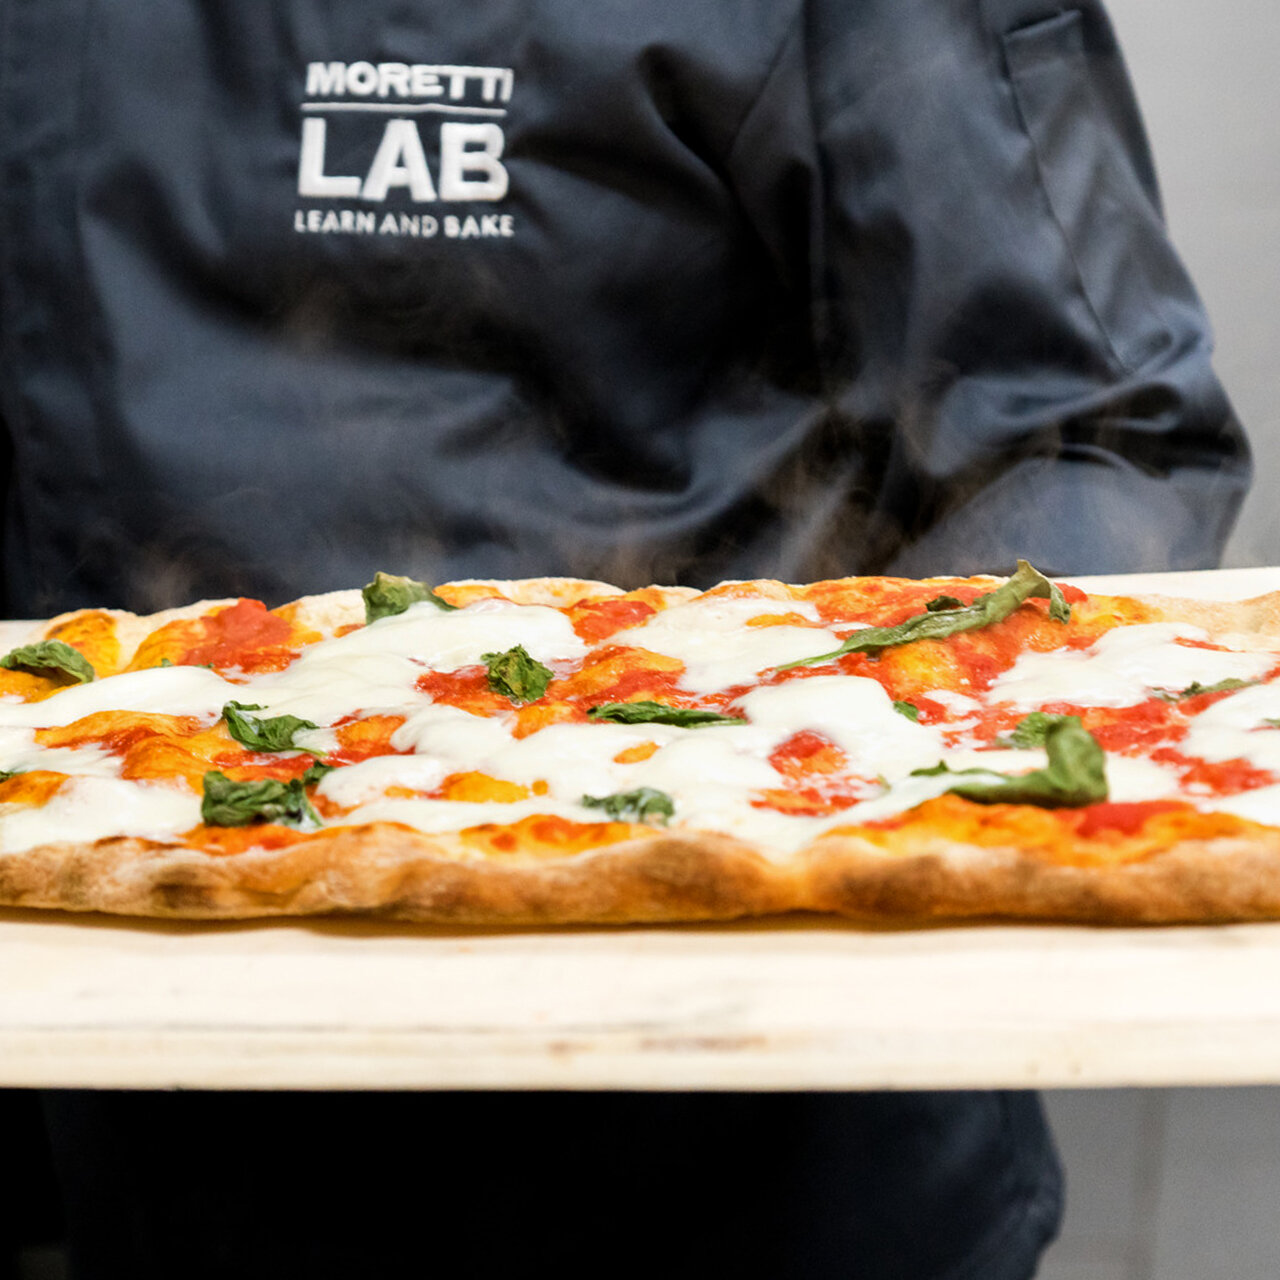
Dough ball size from 260 to 1000g / Baking time 5’ – 10’
Preheat the pizza bases with the oven constantly at full load (only use the 4 areas at the bottom for Neapolis6 or the 6 areas for Neapolis9):
Preheat Neapolis raising the deflectors horizontally and programming the set point at 255 °C / 491 °F, top 2, deck 6 (light off and door closed), press start/stop and wait for it to reach temperature (approximately 2h and 30′ from cold, 1h and 15’ if the oven has worked in the previous shift). Once the set temperature is reached, open the door, in 15/20 minutes Neapolis will reach the setpoint again and it will be ready to start baking. If you need to bake faster just raise the set point by 10-20 °C / 50- 70 °F and by one point both top and deck.
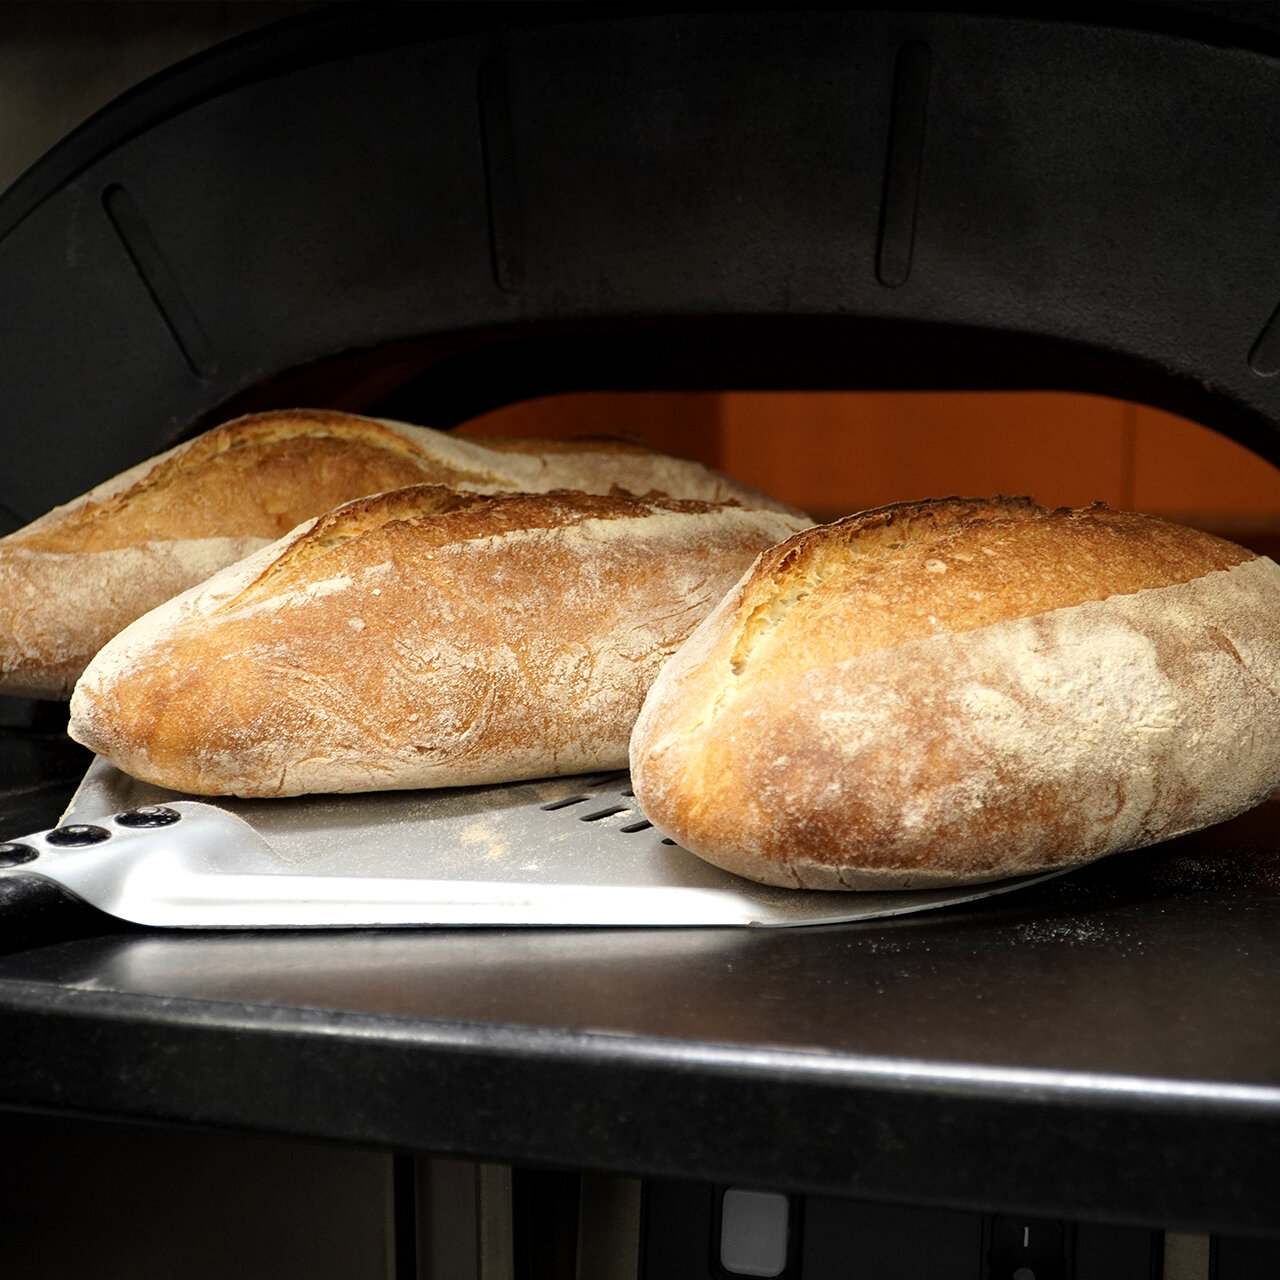
Dough size 500g / Baking time 32’ – 35’
Preheat Neapolis raising the deflectors horizontally and programming the set point at 235 °C / 455 °F, top 2, deck 5 (light off and door closed), press start/stop and wait for it to reach temperature (approximately 2h from cold, 1h and 15’ if the oven has worked in the previous shift). Once the set temperature is reached, open the door, in 15/20 minutes Neapolis will reach the setpoint again and you can start putting the bread in.
Load the oven starting from the back, with the loaves closer, in the second row keep the loaves a bit more spaced and leave ca. 10cm when you put the loaves in the front.
Example: for 500g loaves place 5 at the back, 4 on the second row and 2 across in the front.
Close the door and lower the temperature to 225 °C / 437 °F, open after 24/25 mins, turn the bread if necessary, lower the set point to 215 °C / 419 °F and complete baking leaving the door open for additional 10/12 minutes ca.
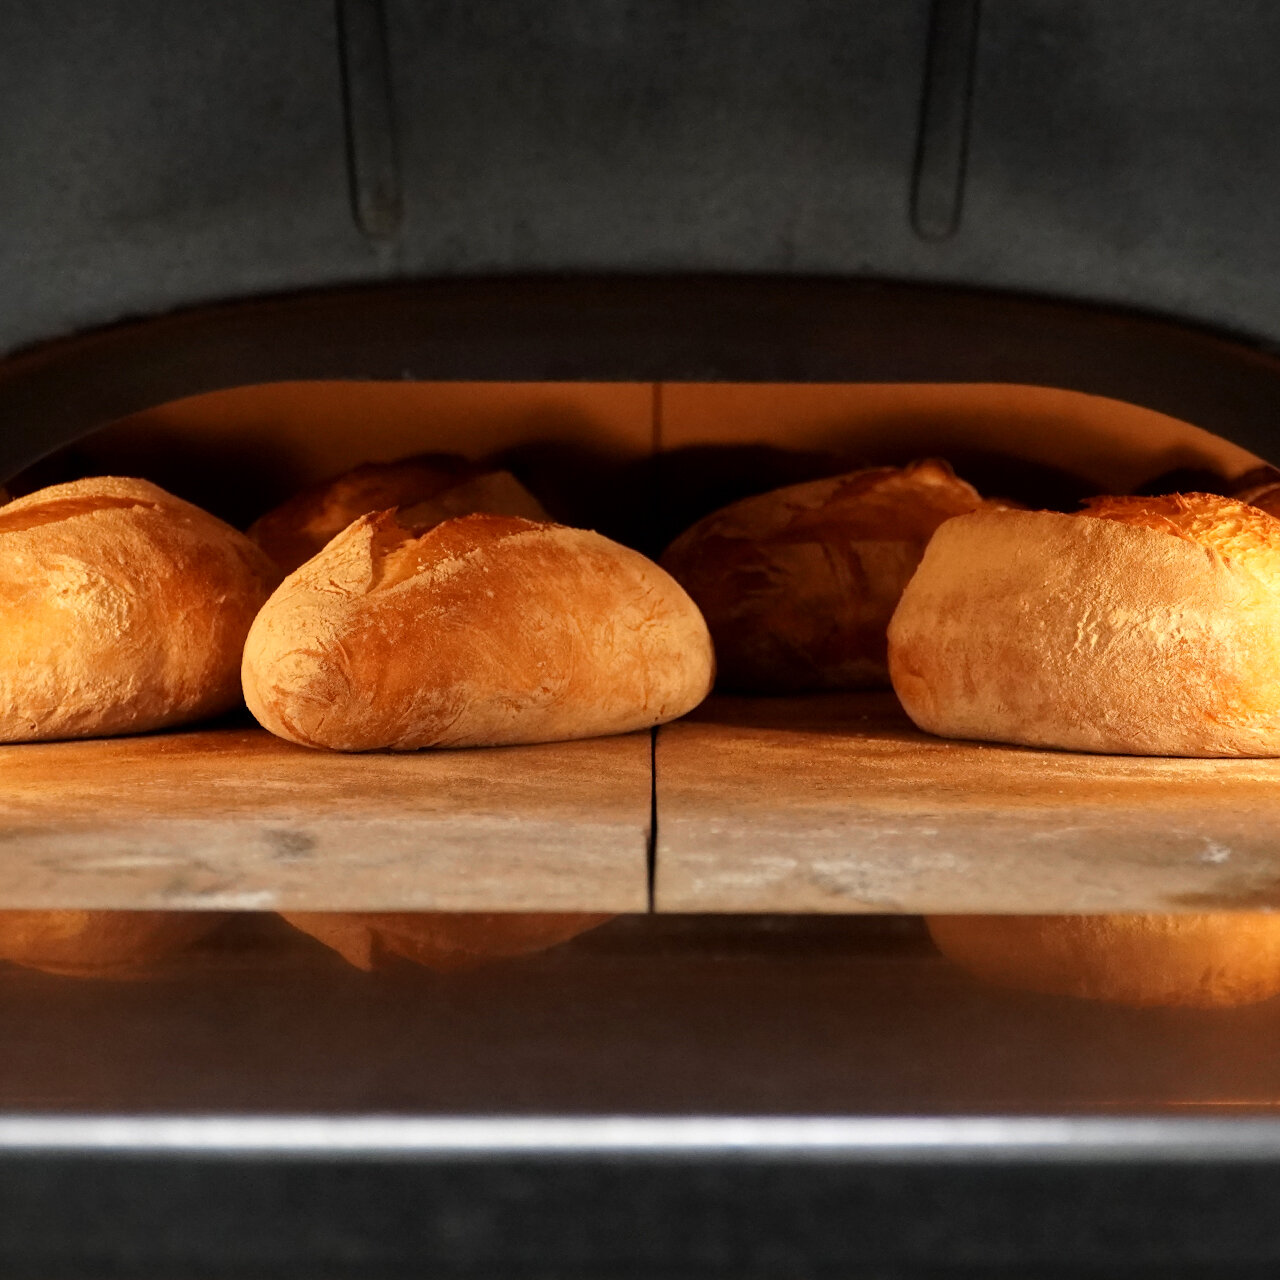
Dough size 700g / Baking time 40’ – 44’
Preheat Neapolis raising the deflectors horizontally and programming the set point at 235 °C / 455 °F, top 2, deck 5 (light off and door closed), press start/stop and wait for it to reach temperature (approximately 2h from cold, 1h and 15’ if the oven has worked in the previous shift). Once the set temperature is reached, open the door, in 15/20 minutes Neapolis will reach the setpoint again and you can start putting the bread in.
Load the oven leaving ca. 10cm on the front, close the door and lower the temperature to 210 °C / 410 °F.
Open after 30 mins, turn the bread if necessary, lower the set point to 200 °C / 392 °F and complete baking leaving the door open for additional 12/15 minutes ca.
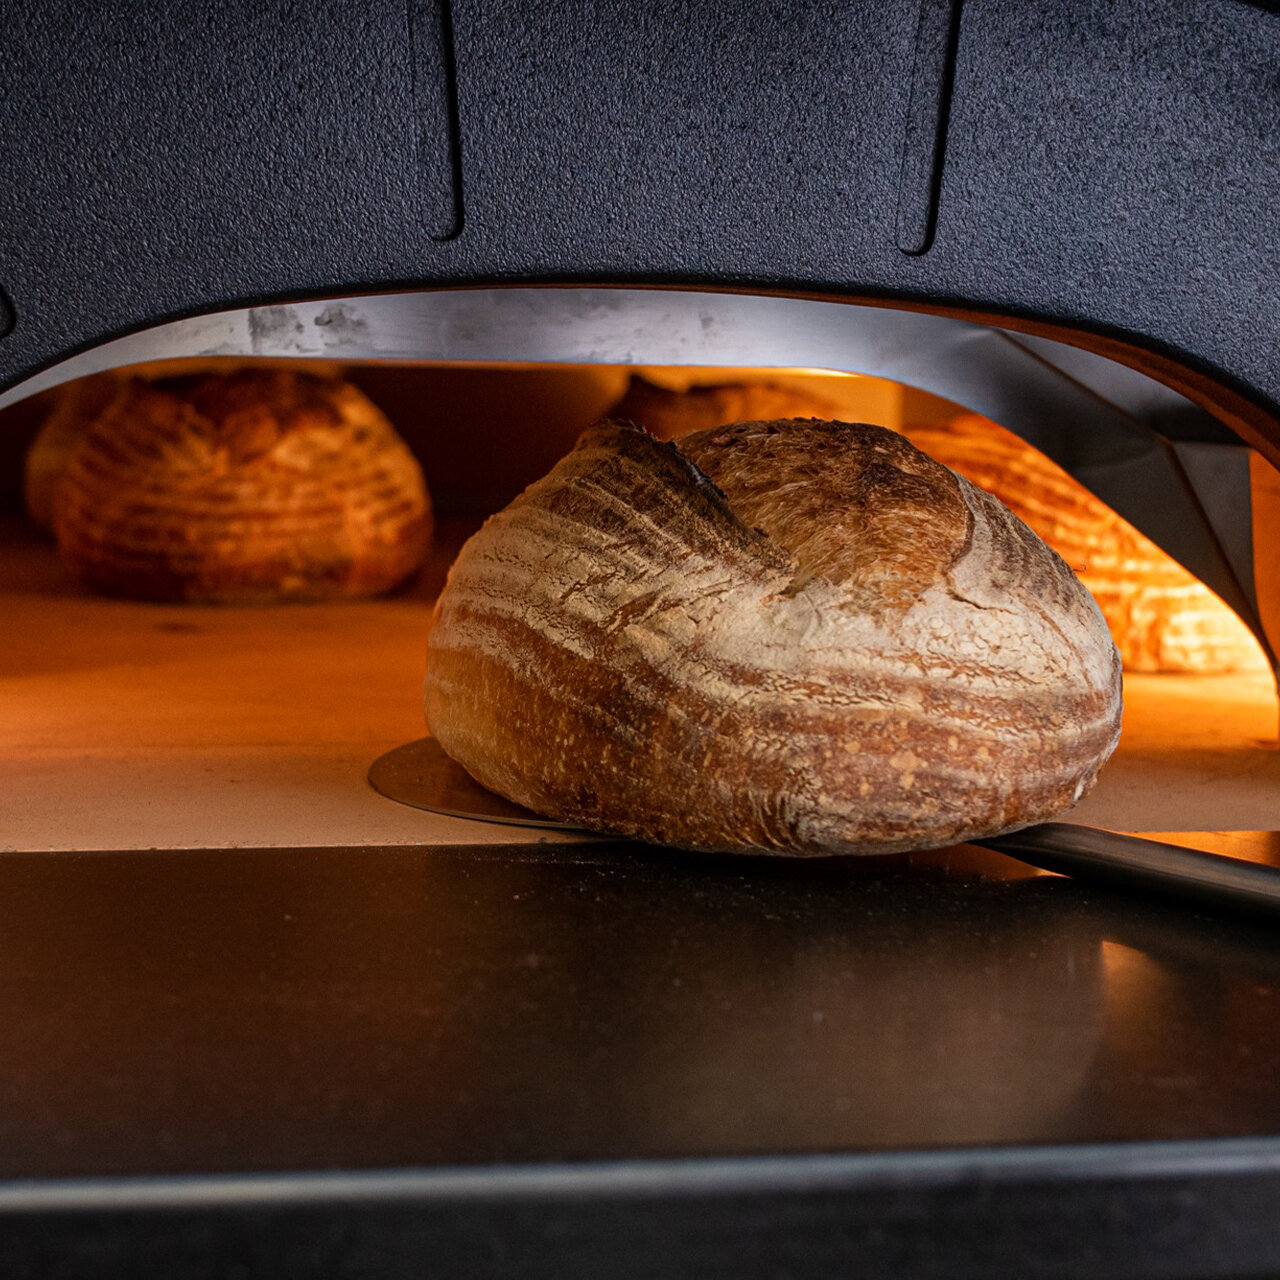
Dough size 1000g / Baking time 55’ – 65’
Preheat Neapolis raising the deflectors horizontally and programming the set point at 230 °C / 446 °F, top 2, deck 5 (light off and door closed), press start/stop and wait for it to reach temperature (approximately 2h and 30’ from cold, 1h and 15’ if the oven has worked in the previous shift). Once the set temperature is reached, open the door, in 15/20 minutes Neapolis will reach the setpoint again and you can start putting the bread in.
Load the oven leaving ca. 10cm on the front, close the door and lower the temperature to 205 °C / 400 °F.
Open after 45 mins, turn the bread, if necessary, lower the set point to 190 °C / 374 °F and complete baking leaving the door open for additional 10/20 minutes ca.
NB make smaller and wider loaves, or else they may not pass through the oven door when baked